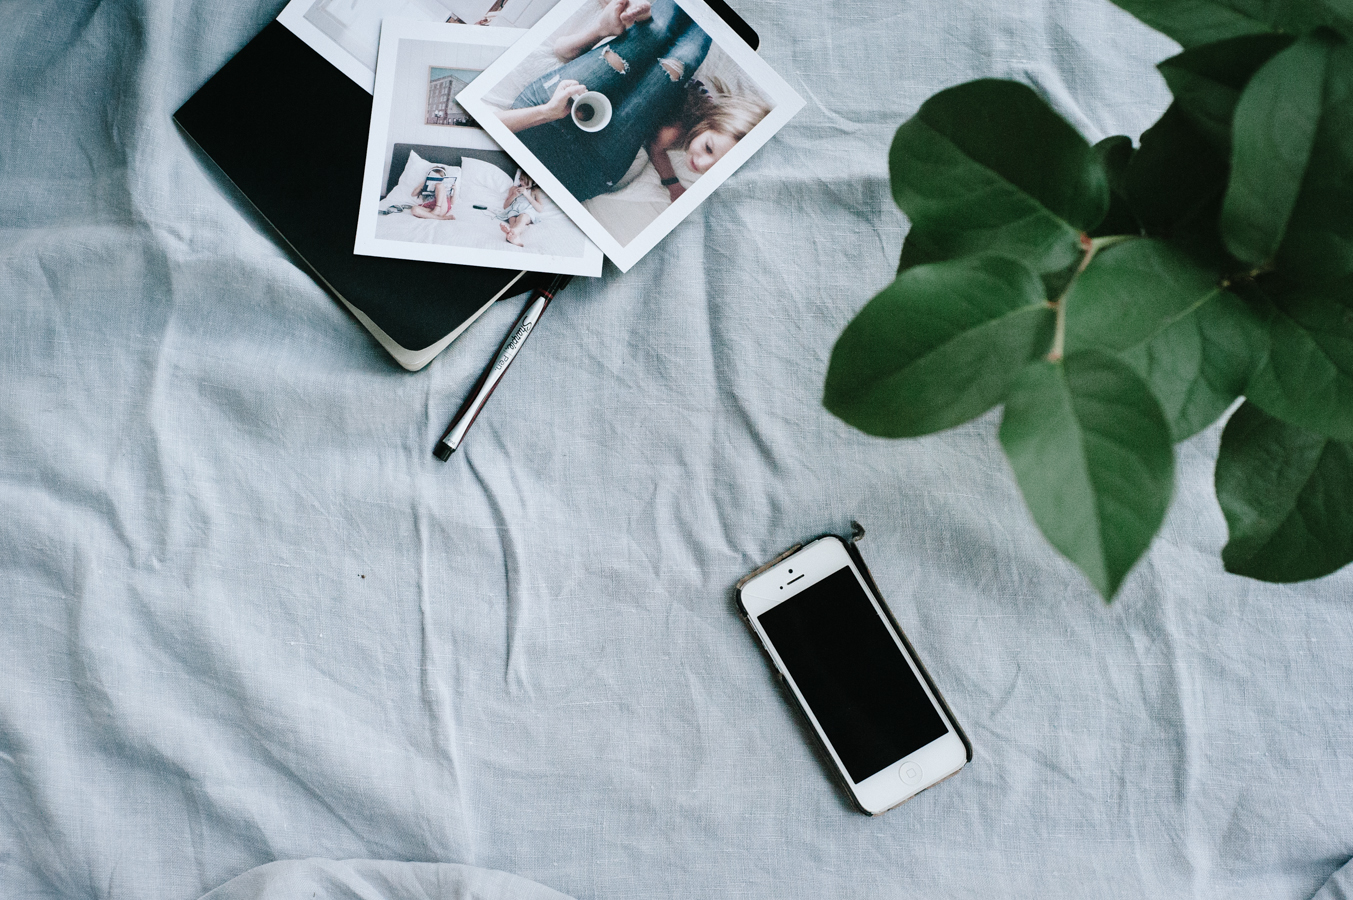
For the last year, I’ve intended to feature a little Instagram series here. I’m quite flattered when I receive questions on IG and in my inbox on how I use the app, especially when there are so many incredible people taking and sharing beautiful images out there. Naturally, there are several ways to take an image or edit and use it, but I thought it might be nice to finally contribute a little something of my own to the conversation. I began taking photos with my phone a few years ago after my first DSLR died. I found iPhone-ography simple and accessible. The finger tapping and swiping felt intuitive, making it easier for me to experiment with the art of photography, taking images and editing them (more on that later). Instagram’s simple platform made sharing these images equally easy, and over time, it has become somewhat of a microblog for me, for our family. Most questions I receive are about editing, but honestly, editing is easy and quick if you begin with a great image. So we’ll begin there. Here’s a few tips and tricks I use when framing or composing an image with my phone camera. I hope they inspire or help you in some way. (wink.)
use a camera app | I take most of my Instagram images using my iPhone 5 (over two years old), and have used either the Camera Sharp app or Camera+ app. Both apps give you far more control and creates sharper images overall than the iPhone camera, in my experience. Camera+ even has a macro lens option and manual control of exposure. After selecting and editing my image, I upload to Instagram. I’ll talk more about this process in a later post.
choose a clear subject | There’s always a reason you’re drawn to pull out your phone in a moment–a specific activity or interaction, a slice of nature, a beautiful meal, a proud moment of accomplishment. Draw your image to that subject. Sometimes that might mean a close detail shot, a tight image of your project or meal or child’s hands. Other times, it might mean pulling back, surveying a scene, the coastline, a silhouette in gorgeous light, people interacting. Direct your image to what subject you want to convey. When possible (or just to play around), take 2-3 perspectives of the moment: one more detailed and close; another more removed, surveying the scene; and possibly a third from a different angle entirely, like low to the ground or birds-eye. Which expresses the subject more clearly to you?
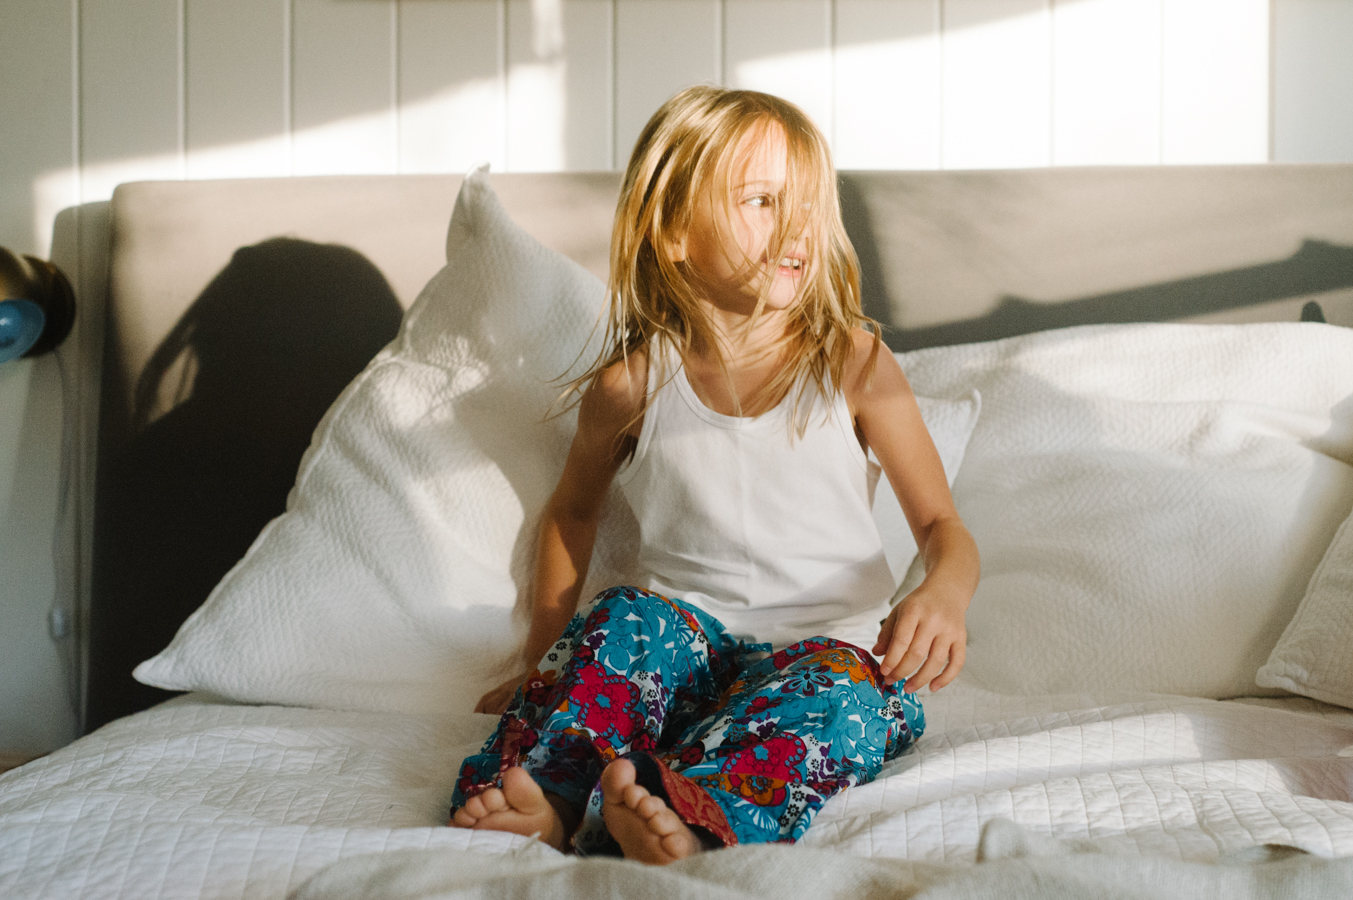
use natural light + exposure | The quality of all images begins with light. Take your phone images during the day. If you’re indoors, stay close to windows. Sometimes I scoot a table closer to the window or wait for one of my kids to move their activity to a well-lit area. In the morning, light is usually soft and muted. In the late afternoon, light is usually golden and full of contrasting shadow. Use exposure buttons on your camera app–usually by tapping the screen with two fingers at once. Move the ‘E’ circle or square around your screen to see how the shadows and highlights change on your screen. Light itself can sometimes become the subject. In those instances, I might expose to the light of a window, even though it darkens my children’s faces or what they’re doing to focus on the mood of the moment.
show scale | Everyone has had that moment of trying to explain how big the mountain actually was compared or how small your tiny your infant was at birth. I love scale for this purpose, especially with children. They’re little for such a short period of time, so make sure to show it. This might mean taking an image of tiny children in a tree or having your toddler standing between your legs or a close-up of them on your hip. The idea is to have some marker in your image to give scale to how large or small someone or something is.
find lines | Lines exist everywhere, in furniture, buildings, along our bodies and nature. Use these natural lines to align your subject. For instance, using the grid lines on your camera app or in Instagram, make sure your existing background lines–perhaps the horizon or the window frame or building edge or tree trunk–are parallel or perpendicular to your subject. How do they work together? You’ll notice it’s easier to keep your lines straight if you phone is parallel to the subject, instead of tilted. For example, a phone that is directly parallel over the table for your food or drink shot, opposed to tilted from above. Or an eye-level photo, rather than simply tilting the phone down at your child from your standing position.


Comments
Any time you hear a photographer talking about image compossion they mention the importance of lines. Seems so important, especially with landscape and travel shots. Great post.
Buckets & Spades
Thank you Matthew. And you’re right! Learning the importance of lines felt pivotal to me. ;)
Do you an app for android?
Sadly, I don’t, but here’s a link to one person’s favorite Android camera apps that might help you find one.
Hi Bethany – I just started following you on Instagram (and subsequently here on your blog!), and was immediately in love with your photos, so this was great to read. I’m so drawn to the dreamy quality of your shots and can’t wait to hear how you create that. Do you have any tips for what to do in a home with not a lot of natural lighting? Our small apartment only has windows at one end, so it’s tricky for me to get good shots. Thanks so much for this, I’m looking forward to the rest of the series!
Thank you so much, Chrissie. I know taking an image in poor lighting conditions can be so frustrating. If possible, I move the subject. If it’s a meal, I might take the dish outdoors or even sometimes, I scoot my kiddos nearer to the windows to continue whatever they’re doing. Sometimes I use artificial light, like twinkle lights, and expose to them so you can find the silhouette of the subject. If I really want to savor the moment, I’ll settle for a grainier image anyway. I’ll post editing tips soon, and I hope it will address some of that for you. x
Thanks – I’m looking forward to it!
Thanks for these great tips – I tend to be really happy with my dSLR photography, but less so with my iphone photography, but I am sure these tips will help and change that!
Rae | Love from Berlin
I hope so, too, Rae. Although they pull from the same tools, it seems there’s something about small format that can be different from larger format forms, like the DSLR. The compliment one another, but have different feels.